


Planting Bare Root Climbing and Rambler Roses in the Ground: Step-by-Step
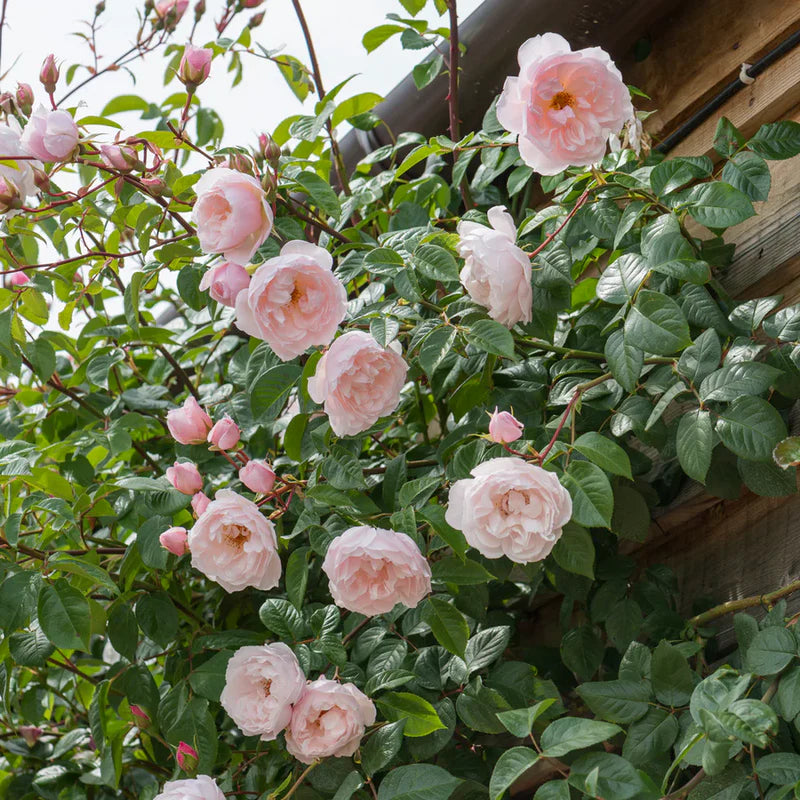
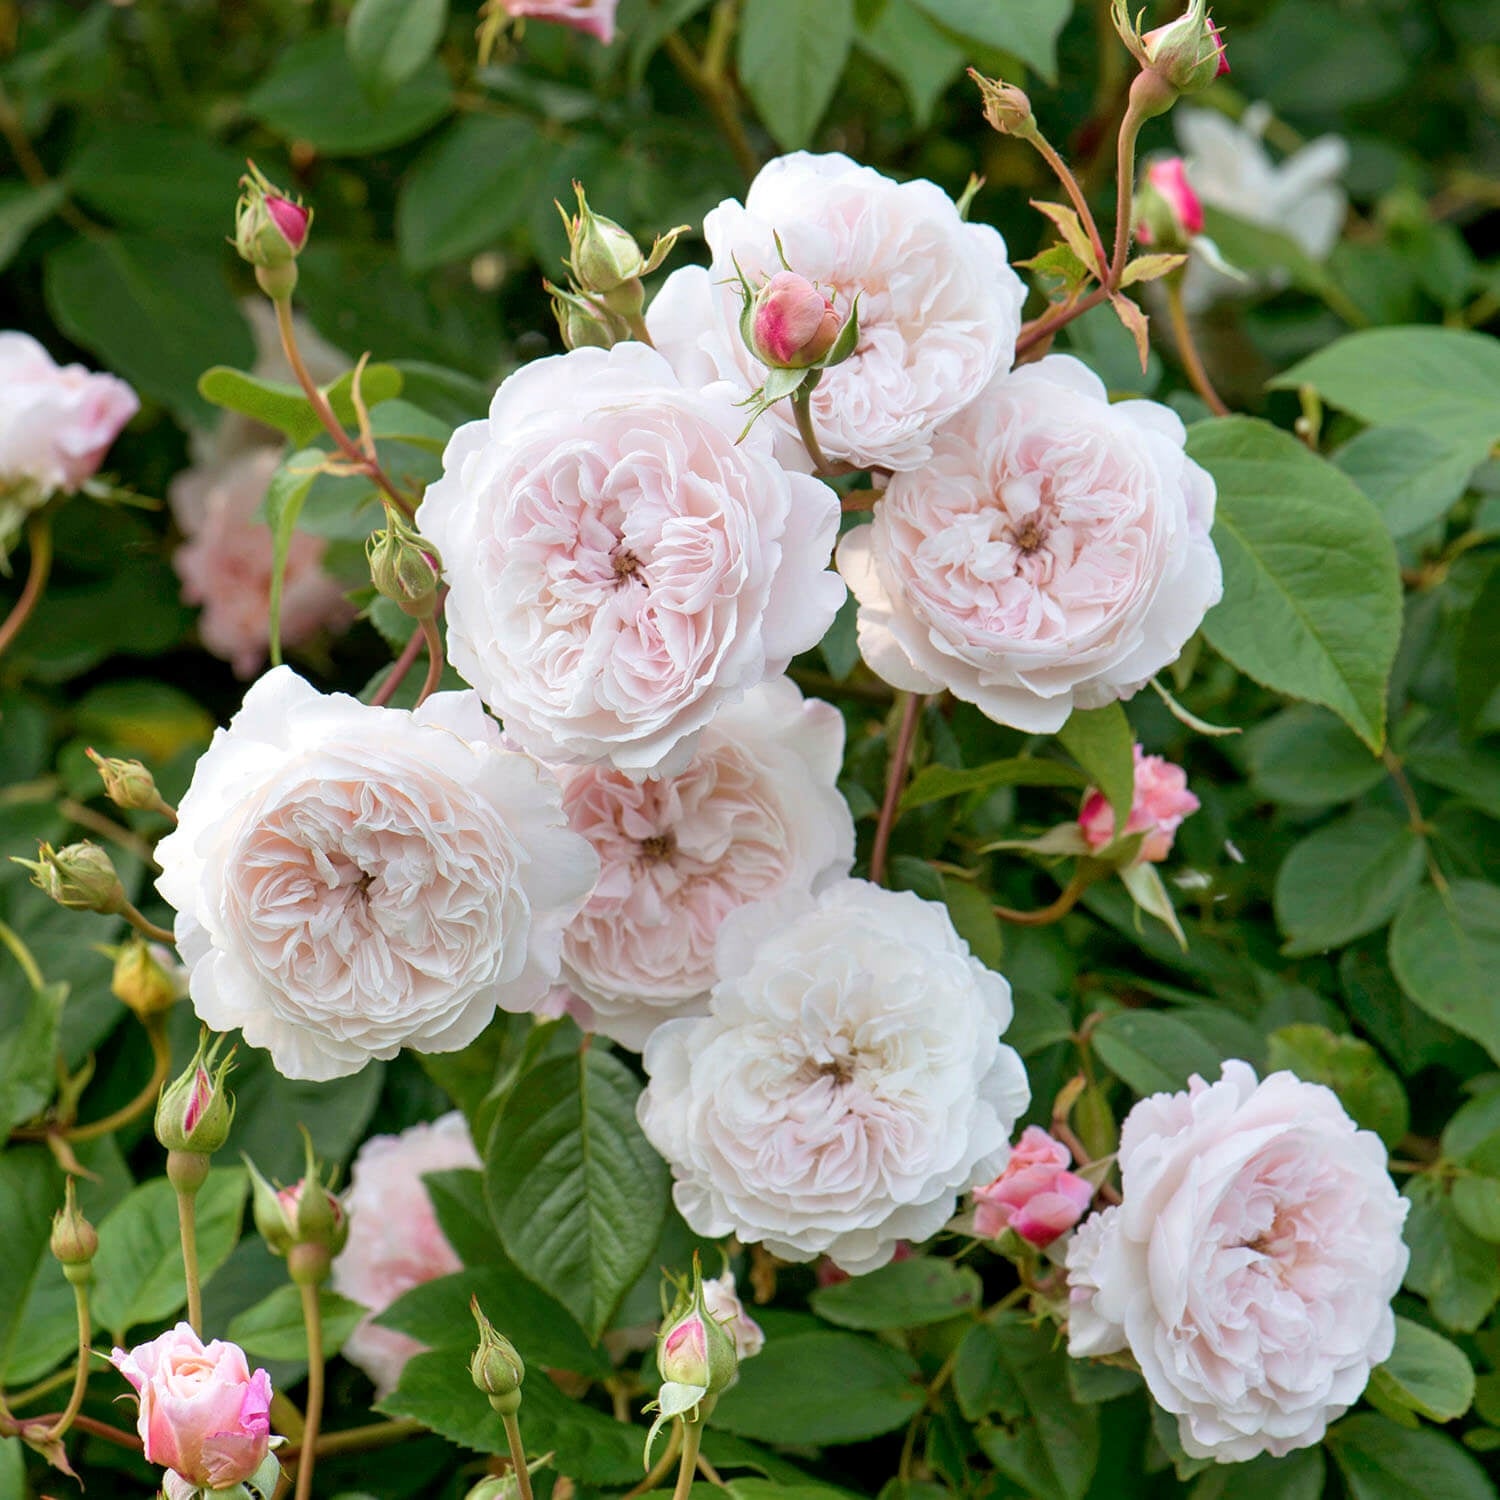
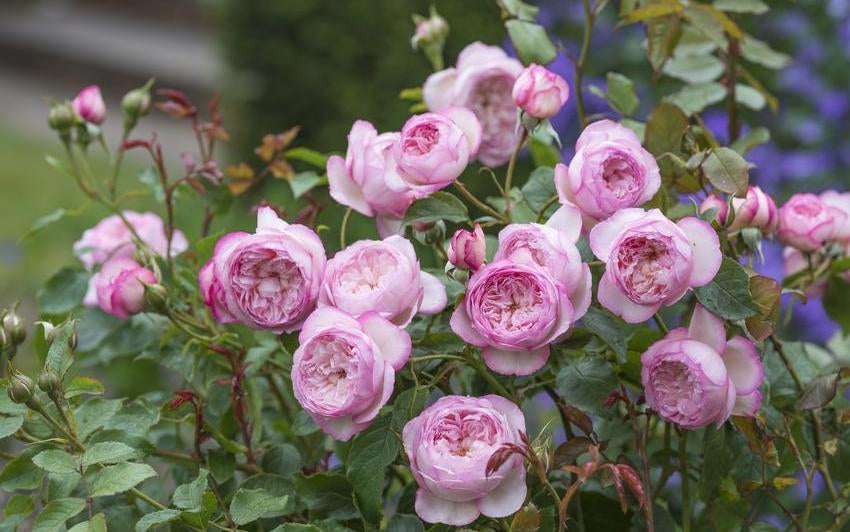
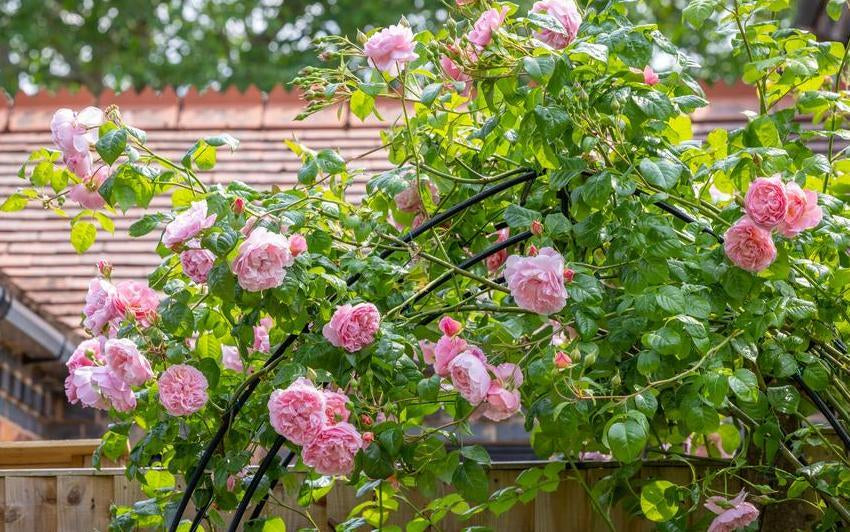
Bare root climbing and rambling roses bring both structure and romance to the garden, offering a traditional and sustainable way to cover walls, fences, and arches with abundant blooms. Planted between autumn and early spring, these roses establish naturally through the cooler months, ready to send out vigorous new shoots when warmth returns. With a little preparation and care, they will reward you for many years with graceful growth and exquisite fragrance.
The ideal time is during dormancy, from late autumn to early spring. Planting in this period allows the rose to settle quietly into the soil, developing a strong root system before spring’s energy arrives.
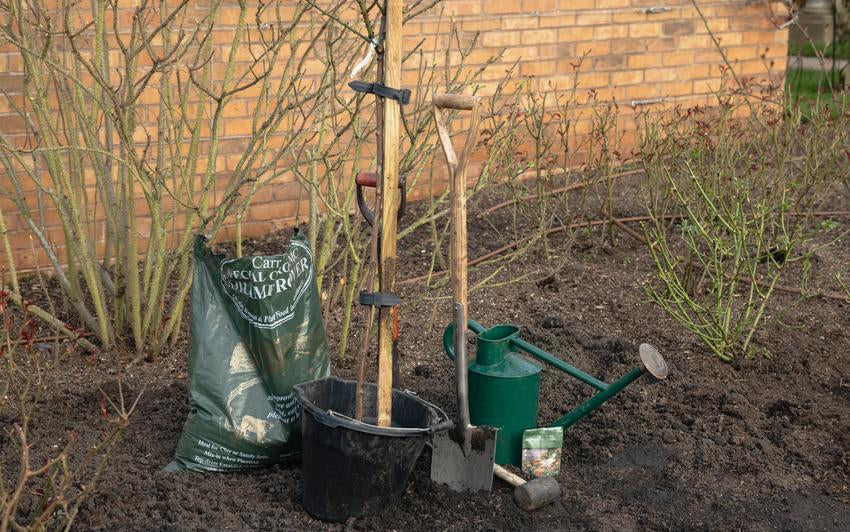
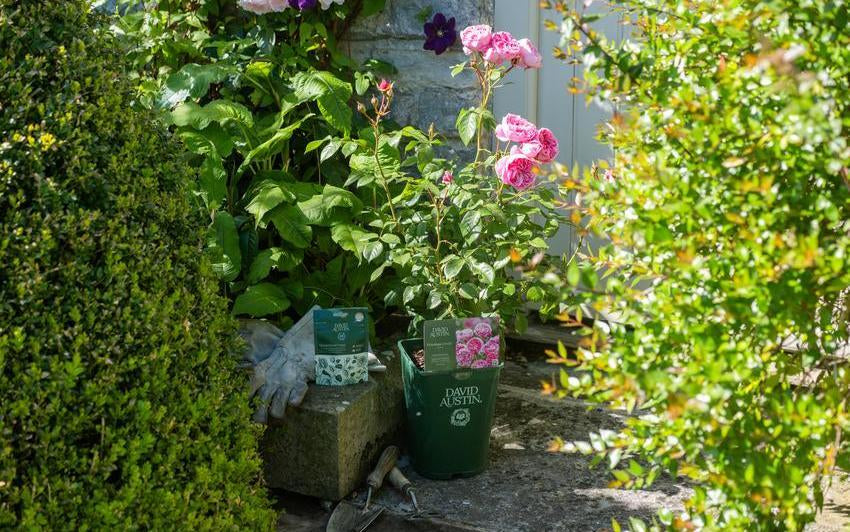
Essentials
- Your bare root rose
- Spade - Ladies' Groundbreaker Spade , Men's Groundbreaker Spade , Digging Spade , Border Spade , Compost Scoop
- Gardening gloves
- Watering Can (we recommend Haws)
- Soil Improver or well-rotted Manure ( We recommend John Innes No. 3, high-quality multi-purpose compost or Carr’s Special Organic Soil Improver)
- David Austin Mycorrhizal Fungi
- Large bucket of water
- Wheelbarrow
- A structure for your rose to grow up
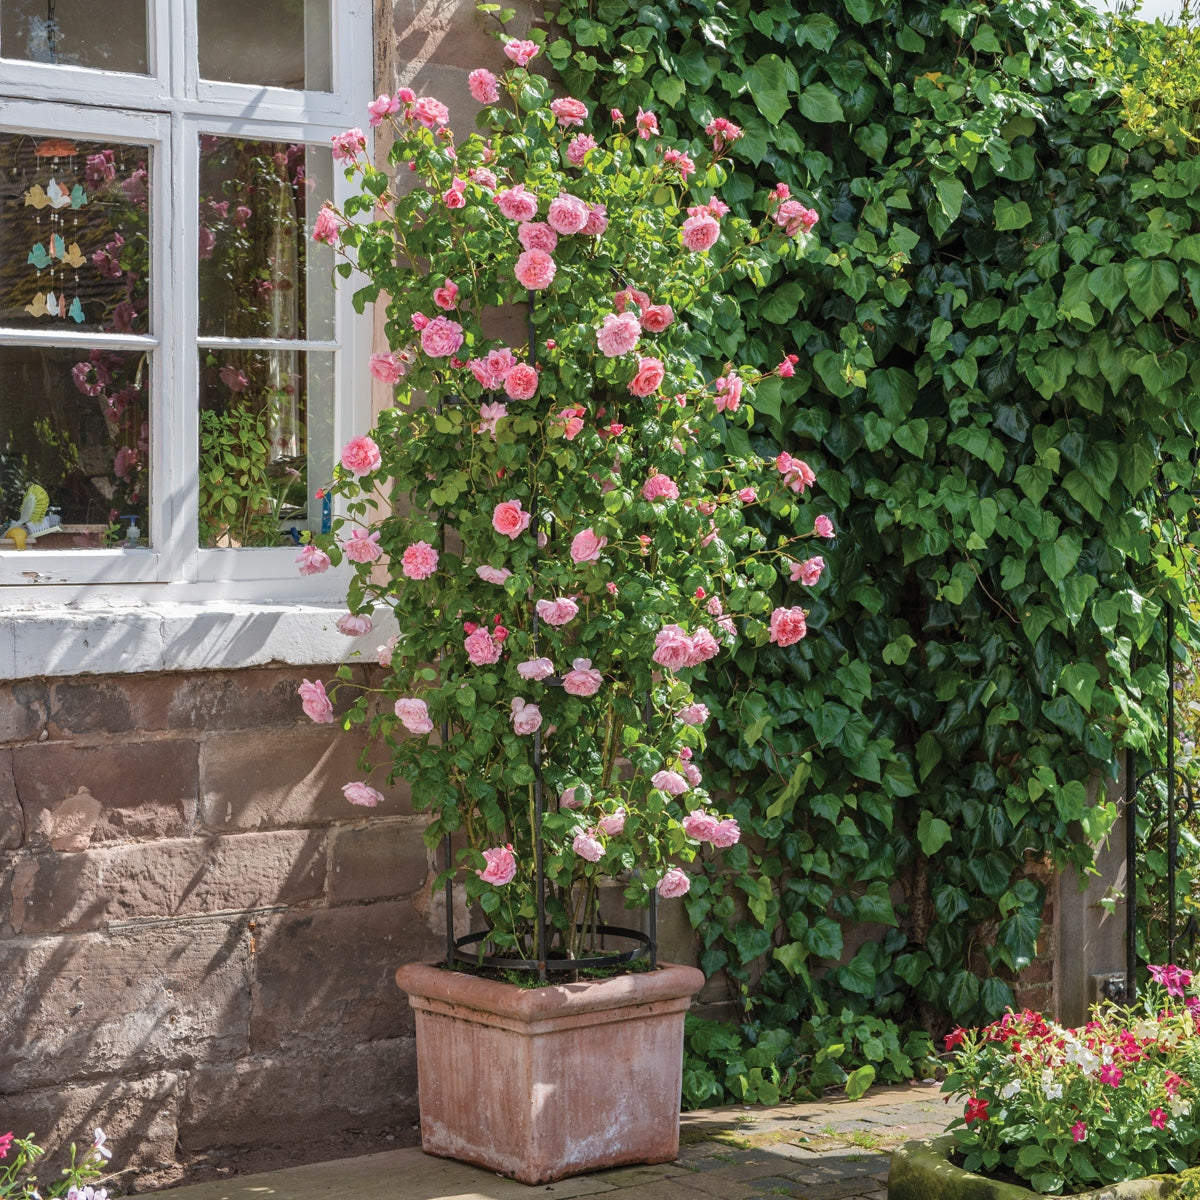
Climbing roses love sunlight, so choose a position that receives at least four hours of direct sun each day. When planting against a wall or fence, place your rose at least 30 cm (1 ft) away to allow rainwater to reach the roots and give them space to spread. Make sure there is a strong support, such as a trellis, wires, or an arch, for the stems to be tied onto as they grow.
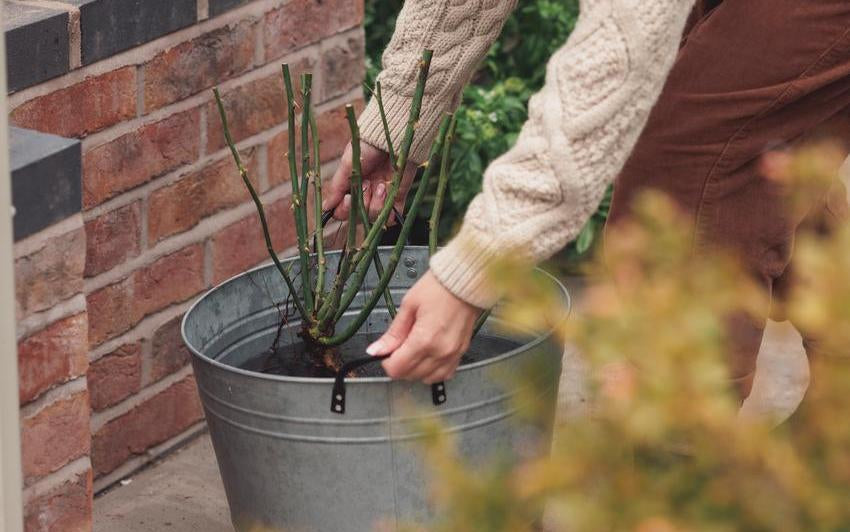
Before planting, place your bare root rose in a bucket of water for at least two hours. This ensures the roots are fully hydrated and ready to settle into the soil.
Planting in the Ground
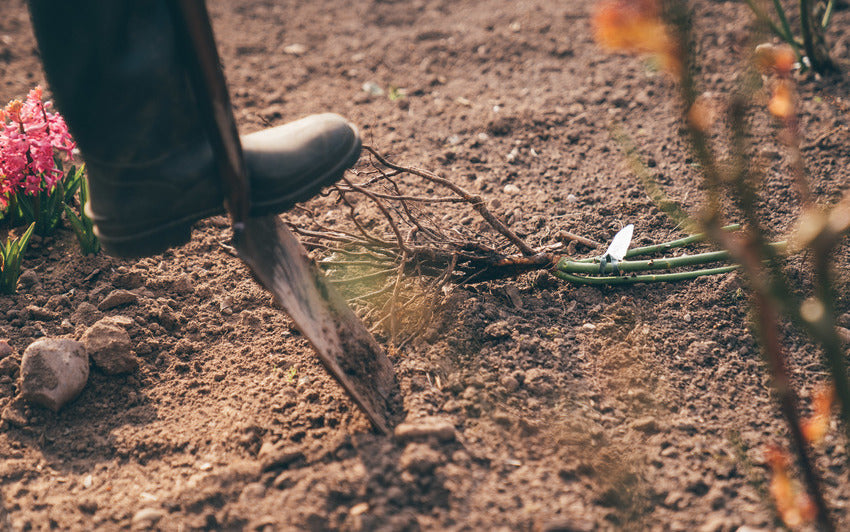
 Step 1Prepare the soil: Dig over the area thoroughly with a garden fork, removing weeds and stones so the roots can grow freely. Roses are adaptable and will thrive in most soils. If you have concerns, speak with a rose expert for tailored advice.
 Step 2Dig the hole: Using a spade, make a hole roughly 45 x 45 cm (17.5 in wide and deep) - large enough to accommodate the roots when spread out. Break up the soil at the base and mix in a spadeful of well-rotted manure or organic soil improver. Add two spadefuls of soil improver to the soil you removed.
 Step 3Apply Mycorrhizal Fungi: Lift the rose from the bucket and sprinkle the recommended amount of Mycorrhizal Fungi directly over the roots while holding it above the planting hole. Any excess will fall naturally into the soil below.
 Step 4Position the rose: Place the rose in the centre of the hole with its stems leaning towards the wall or support, and the roots spreading away from it at a 45-degree angle. Ensure the base of the stems sits about 5 cm (2 in) below the top of the hole.
 Step 5Backfill and firm: Fill the hole with the prepared soil mixture, pressing it down gently with your foot to remove air pockets and provide stability.
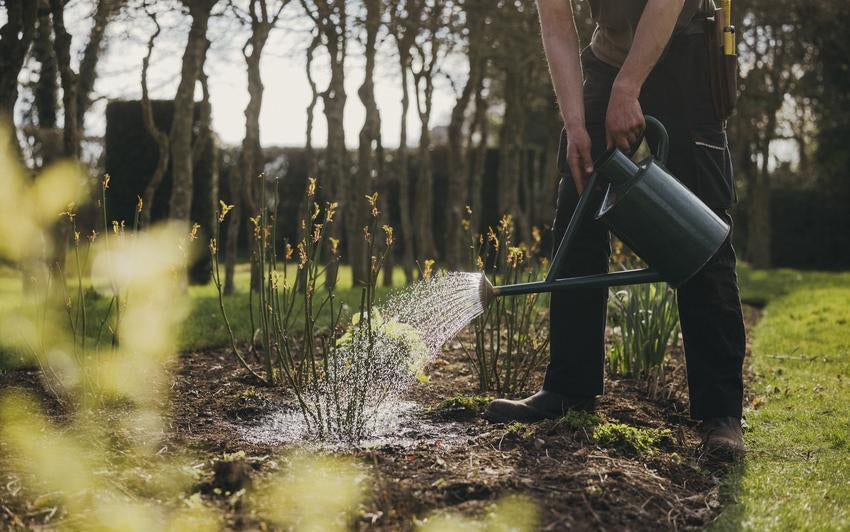
 Step 6Water well: Give the rose a generous watering to help settle the soil around the roots.


Aftercare
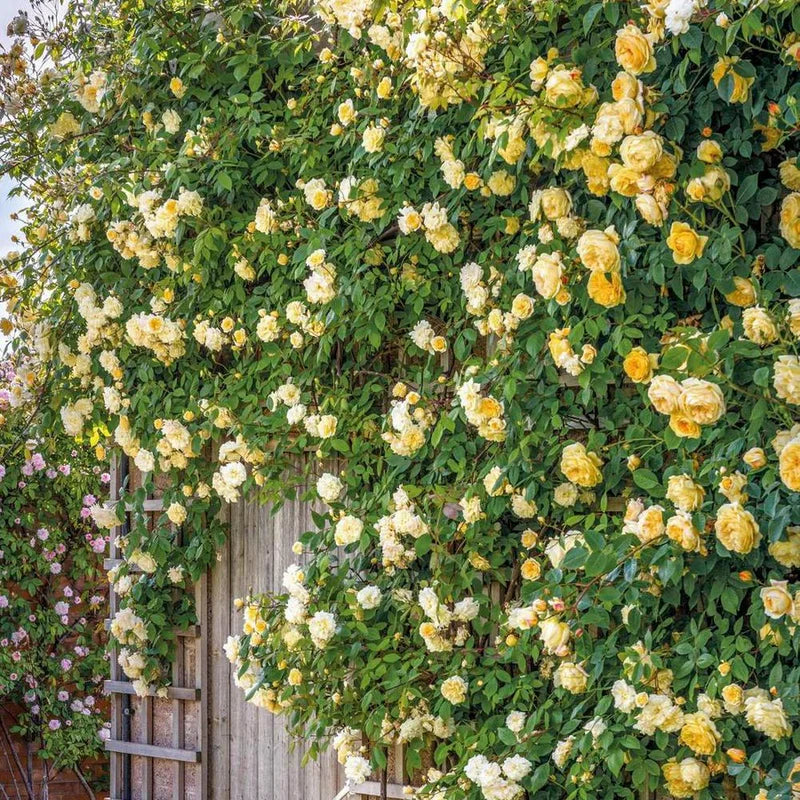
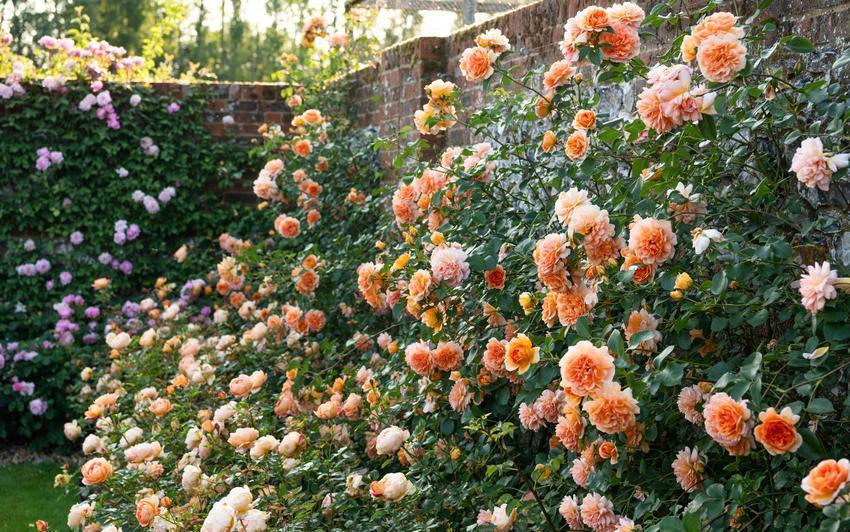
Once planted, the rose can rest undisturbed through the winter months, quietly building its strength below ground. Keep the soil moist but not waterlogged if the weather is dry. In spring, begin to tie the new shoots to their support, training them to grow horizontally for the best display of blooms. With patience and care, your climbing rose will soon transform its chosen structure into a living tapestry of colour and scent.


-
Planting Bare Root Shrub Roses in the Ground: Step-by-StepBare root shrub roses are a gardener’s delight, offering a traditional, sustainable, and rewarding way to add colour and fragrance to your garden. Delivered simply as stems and roots, they are designed to work in harmony with the seasons. Planted in autumn through to spring, they settle naturally into the soil over the colder months, ready to burst into life and reward you with blooms the following year. Easy to handle, they are a dependable choice for both new and experienced gardeners.
-
Planting Bare Root Roses: Step-by-Step for Garden and PotsBare root roses arrive simply, as stems and roots, quietly waiting for the garden to bring them to life. With care, they can transform into lush, flowering plants, filling a garden with colour, fragrance, and presence. Affordable, easy to handle, and a traditional favourite among gardeners, they offer both charm and reward.

-
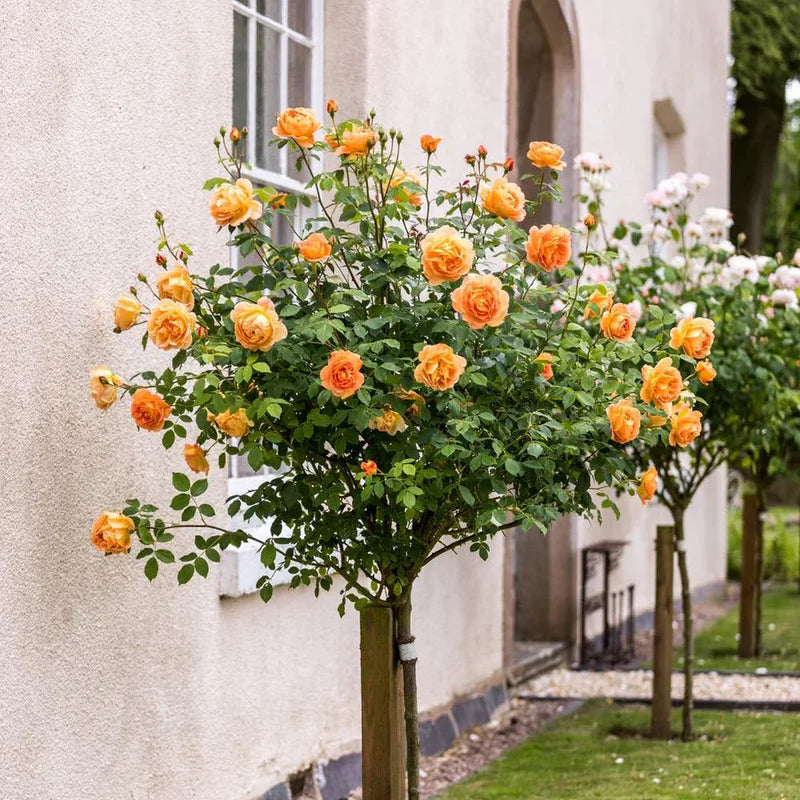
How to Plant Bare Root Standard Roses: Step-by-StepStandard roses, also known as tree roses, bring structure, height and a sense of grace to the garden. Their blooms are carried high on slender stems, creating a striking focal point among lower planting. Whether standing proudly in a border or adding formality beside a doorway, they bring charm and refinement to any setting.
-
How to Keep English Roses at Their Best Until They Can Be PlantedGifting a rose is a thoughtful and much-loved gesture. Even in winter, when the garden rests and the days grow quieter, a rose carries the promise of colour and new life in the year ahead. Often, though, roses are bought well before they are given. If yours needs to be kept for a short while before it can be planted, caring for it is wonderfully simple. Roses are far more patient than they appear and will remain at their best with just a little attention.
-
How To Water Bare Root Roses Planted Later In The SeasonWith the spring sunshine finally reaching the garden, now is the perfect time to check in on your newly planted bare root roses. They're just beginning to settle in, and the care you give them over the next few weeks will make all the difference to how well they grow and bloom this summer.
-
Why Are My Rose Leaves Turning Yellow? How to Decode and Fix Your Plant's FoliageThere is nothing quite like the sudden panic of walking out to your garden coffee in hand and noticing your prized rose bush looks completely washed out. One day it is a picture of lush green health, and the next, a scattering of bright yellow leaves makes it look like autumn arrived early. If you are staring at your plants right now wondering what went wrong, take a deep breath.

-
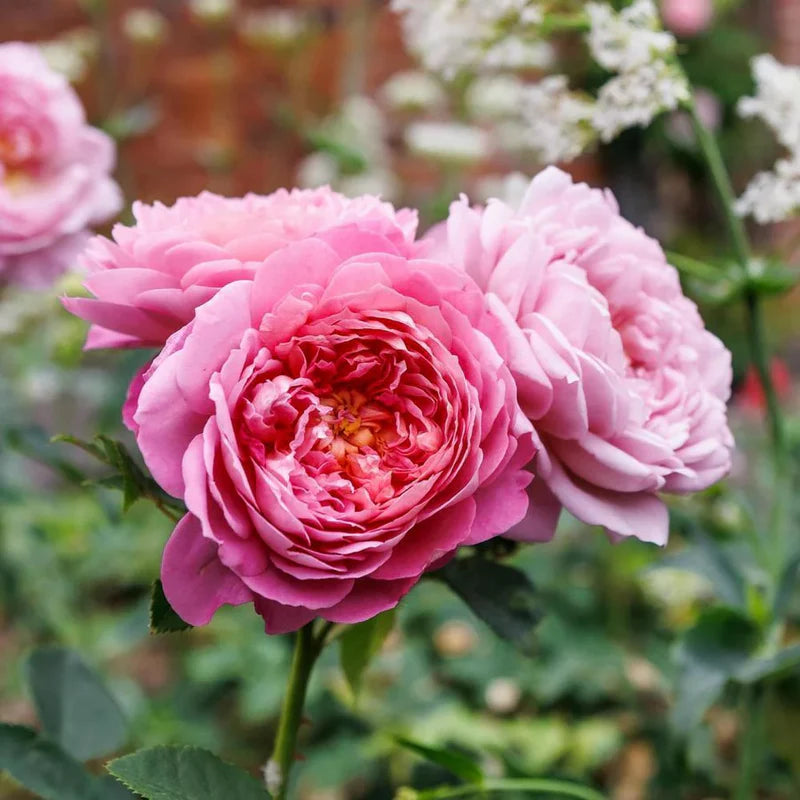
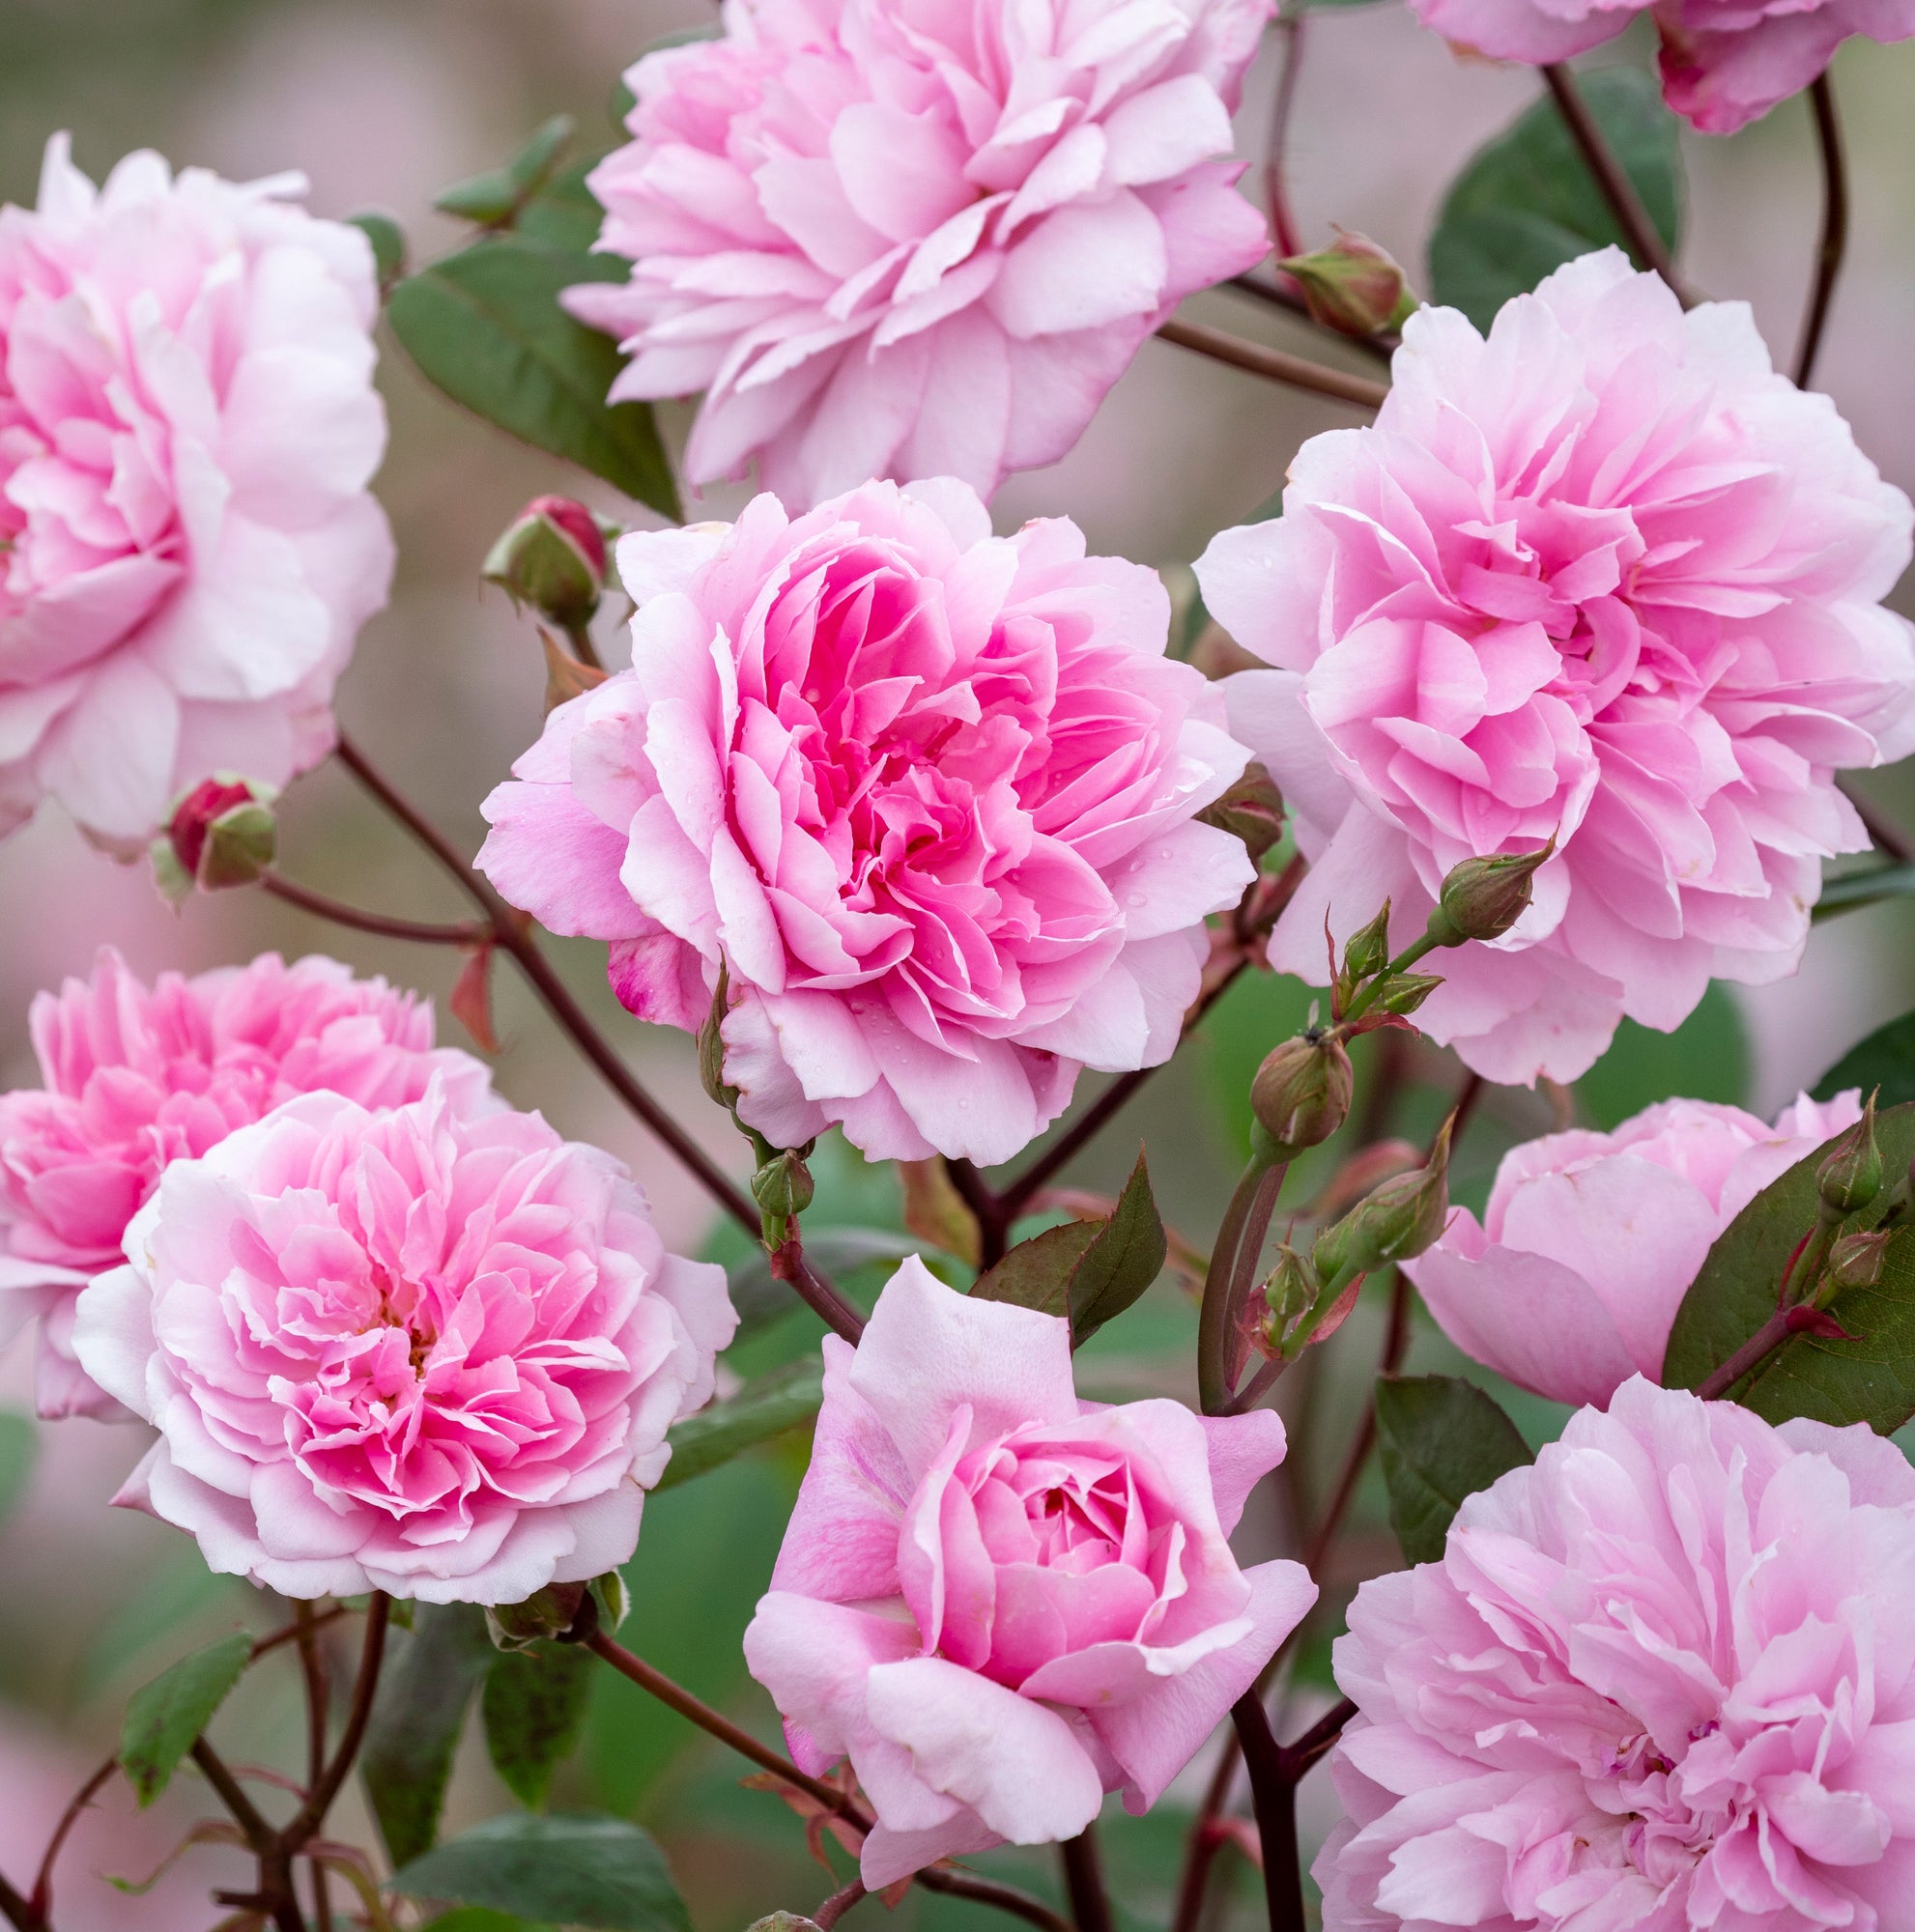
The Heart of a Romantic Border: Why Mill on the Floss Belongs in Your GardenIf you dream of a traditional cottage garden filled with soft colours, overflowing borders, and intoxicating scents, finding the perfect anchor plant is essential. The Mill on the Floss® is a variety that truly deserves a place at the heart of your outdoor space. It effortlessly combines breath-taking beauty with a robust garden performance, bringing timeless charm to borders, walkways, and arches all through the flowering season.
-
Wimbledon, Strawberries and Roses: A Celebration of the English SummerThe scent of freshly cut grass, a bowl of strawberries and cream, and roses blooming in abundance. Few things speak more eloquently of an English summer. As Wimbledon returns each year, it brings with it a familiar rhythm. Long afternoons spent outdoors, gatherings with family and friends, and gardens at their most generous. It is a season of simple pleasures, made all the more memorable by the beauty and fragrance of roses.
-
Think Beyond the Border: Growing Shrub Roses as Short ClimbersWhen choosing a rose for a garden wall, arch, or obelisk, most gardeners naturally turn to the traditional climbing section of the catalogue. Yet, the perfect vertical accent for your garden might not be a conventional climber at all.
-
Planting Potted Roses: Step-by-Step for Gardens and PotsPotted roses offer a wonderfully flexible way to plant roses throughout much of the year. Whether you're adding a shrub rose to a mixed border, training a climber over an arch, or creating a container display for a patio, planting correctly from the outset will help your rose establish quickly and thrive for years to come.
-
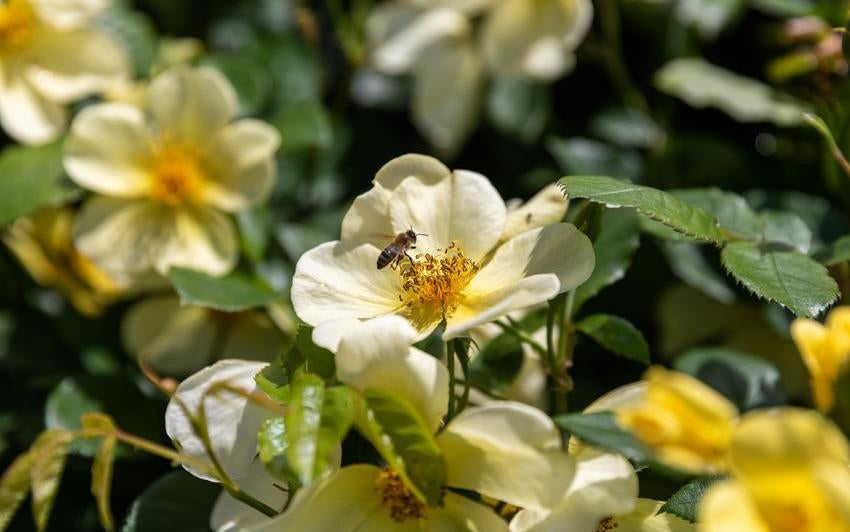
Roses to Welcome Pollinators into the GardenImagine stepping out into your garden on a warm afternoon and watching it come alive. It is not just about the gentle hum of a bumblebee; it is the delicate flutter of a butterfly, the hover-and-dart acrobatics of a hoverfly, and the busy work of tiny solitary wasps and beetles. Together, this diverse crew keeps our natural world turning.